Homemade Chocolate Peanut Butter Hearts – The Perfect Sweet Treat
Introduction
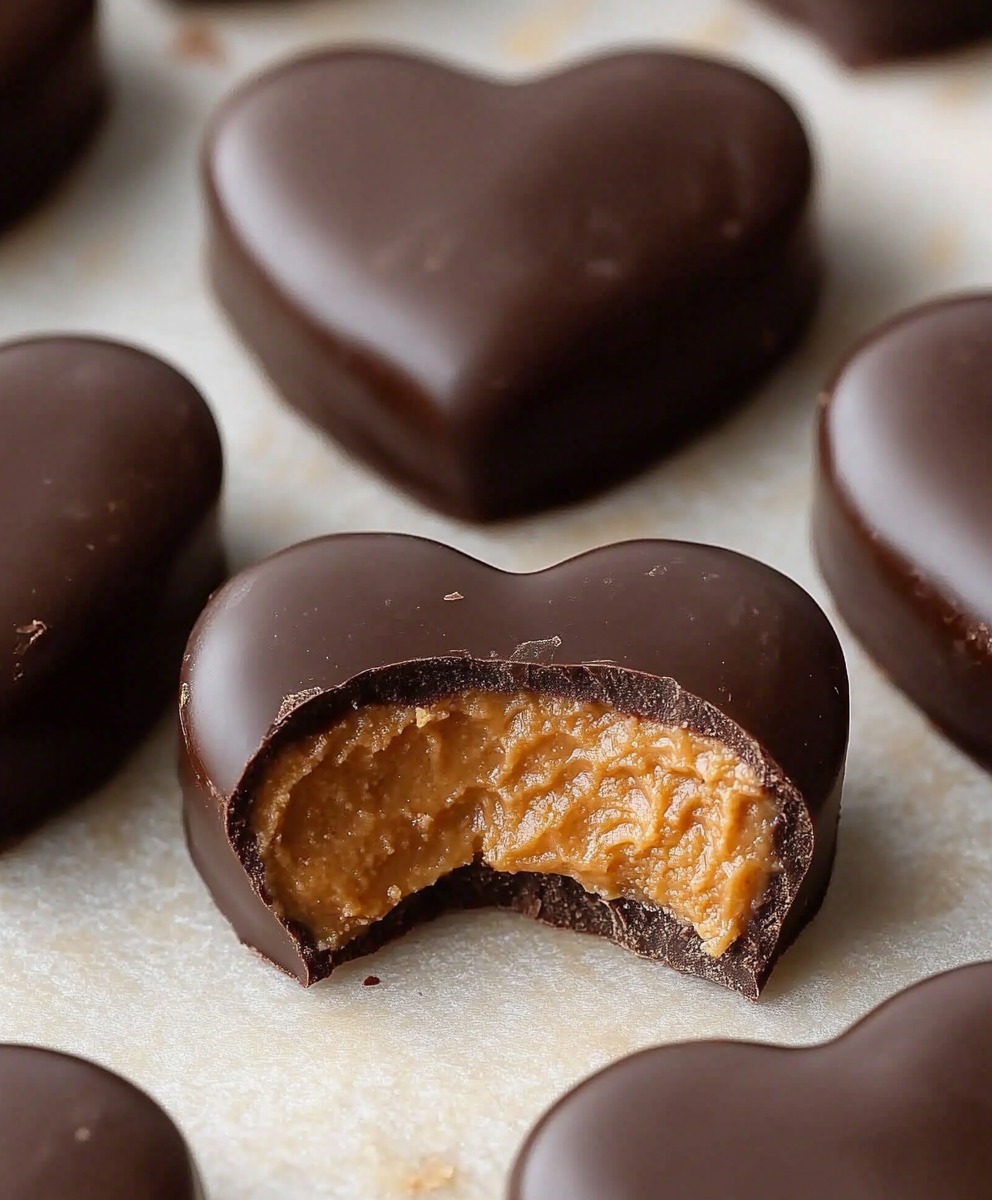
Looking for the perfect dessert to satisfy your sweet tooth? These Homemade Chocolate Peanut Butter Hearts are a decadent treat that combines the rich, smooth peanut butter filling with a crisp, dark chocolate shell. With their heart-shaped form, they’re perfect for special occasions like Valentine’s Day, anniversaries, or just a sweet indulgence. If you love peanut butter and chocolate, these bite-sized delights will quickly become your new favorite. Let’s dive into how to make these irresistible chocolates at home!
Ingredients
For the Peanut Butter Filling:
- 1 cup smooth peanut butter (or crunchy, if preferred)
- 1/4 cup unsalted butter, softened
- 1/2 cup powdered sugar
- 1/2 teaspoon vanilla extract
- Pinch of salt
For the Chocolate Coating:
- 8 oz dark chocolate (or milk chocolate, if preferred)
- 1 tablespoon coconut oil (optional, for a smoother texture)

Instructions
Step 1: Prepare the Peanut Butter Filling
- In a medium bowl, combine the peanut butter, softened butter, powdered sugar, vanilla extract, and a pinch of salt.
- Mix everything together until smooth and creamy. The mixture should be thick enough to hold its shape when formed into balls, but still soft enough to easily shape.
Step 2: Form the Peanut Butter Hearts
- Line a baking sheet with parchment paper.
- Roll the peanut butter mixture into small balls, about 1 tablespoon each. Gently flatten each ball into a heart shape using your hands or a cookie cutter.
- Place each peanut butter heart onto the prepared baking sheet and set aside in the fridge for 15-20 minutes to firm up.
Step 3: Prepare the Chocolate Coating
- While the peanut butter hearts are chilling, melt the dark chocolate. You can do this by placing the chocolate in a heatproof bowl and melting it gently over a double boiler, or by microwaving it in 30-second intervals, stirring in between.
- If desired, add 1 tablespoon of coconut oil to the chocolate to make it smoother and easier to coat the peanut butter hearts.
Step 4: Coat the Peanut Butter Hearts
- Once the peanut butter hearts have chilled and the chocolate is melted, dip each peanut butter heart into the chocolate, ensuring it’s fully coated.
- Using a fork or a toothpick, lift the heart out of the chocolate and gently tap to remove excess chocolate.
- Place the chocolate-coated peanut butter hearts back onto the parchment-lined baking sheet.
Step 5: Chill the Hearts
- Once all the peanut butter hearts are coated, return them to the refrigerator for 30 minutes to an hour, or until the chocolate coating has completely set.
Step 6: Serve and Enjoy
- Once the chocolate is firm, remove the hearts from the fridge and serve.
- These chocolates can be stored in an airtight container in the refrigerator for up to a week.
Pro Tips
- For an extra touch, sprinkle a little sea salt on top of the chocolate before it hardens for a sweet and salty flavor combo.
- You can also experiment with different types of chocolate—white chocolate, milk chocolate, or even a combination of dark and milk chocolate for a more balanced flavor.
- If you don’t have a heart-shaped mold, you can simply roll the peanut butter mixture into balls and dip them into chocolate for a more traditional peanut butter cup shape.
Conclusion
These Homemade Chocolate Peanut Butter Hearts are the perfect blend of creamy peanut butter and rich chocolate, offering a delightful treat for any chocolate lover. Whether you’re making them for a special occasion or just indulging yourself, these homemade candies are sure to impress. Easy to make and absolutely delicious, they’ll quickly become a go-to recipe for your sweet cravings.
Call to Action
Have you made these Homemade Chocolate Peanut Butter Hearts? Let us know in the comments below how they turned out! For more sweet and irresistible recipes, don’t forget to check out our blog for more fun and creative dessert ideas.